Table of Contents
 |
|---|
| Android Emulator - Screen Capture |
By using android studio we can capture screenshot with different devices frame.
How to take a App Screenshot with the Device Frame using Android Studio
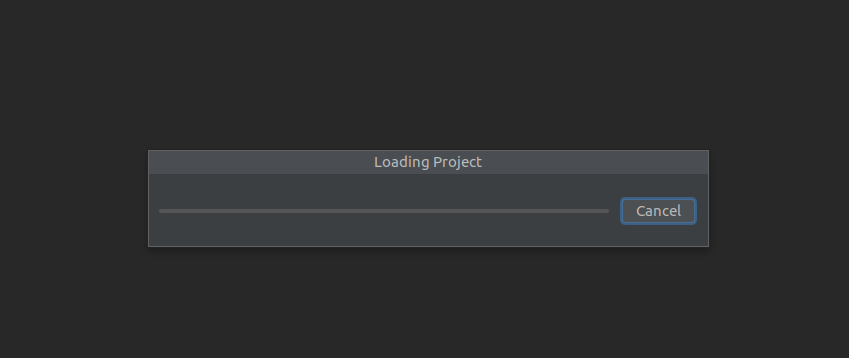
step 1 : Load your project in android studio and run the app
- Open Android Studio
- Load your android app project in android studio.
- Build and Run your app using android emulator or a connected physical device.
- If you are using a physical device make sure that you have enabled USB DEBUGGING option.
 |
|---|
| Android Studio - Load Project |
step 2 : Open Logcat in Android Studio
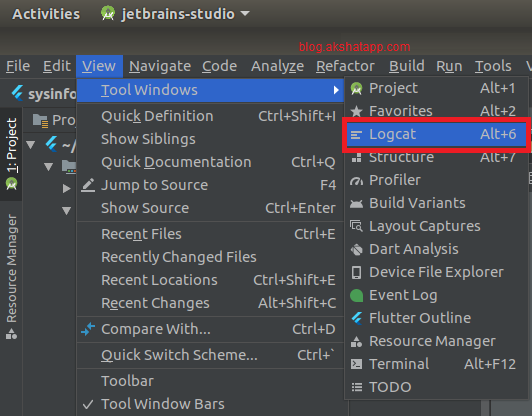
- Check out bottom left corner in android studio to find Logcat option and click to open Logcat
- If it is not visible then select “View Menu” and search for “Tool Windows” tab, it should contain “Logcat” option. Click on it to open Logcat
 |
|---|
| Android Studio - Logcat |
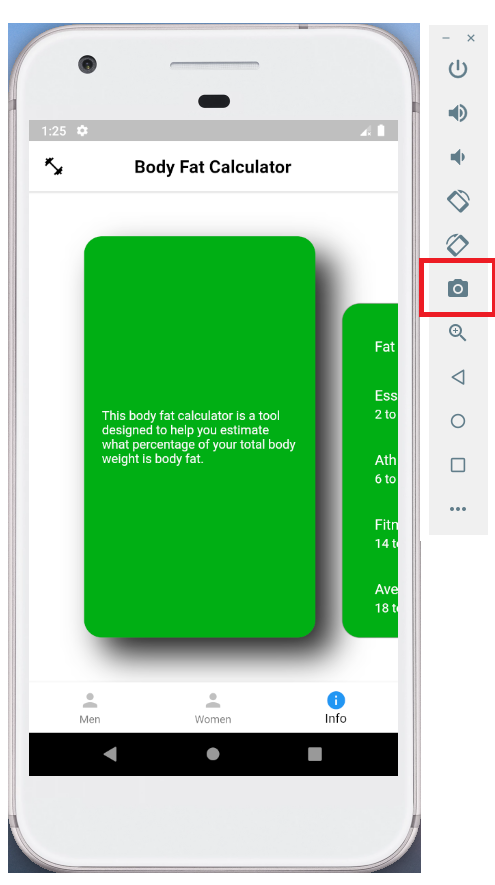
step 3 : Find Screen Capture option in android studio
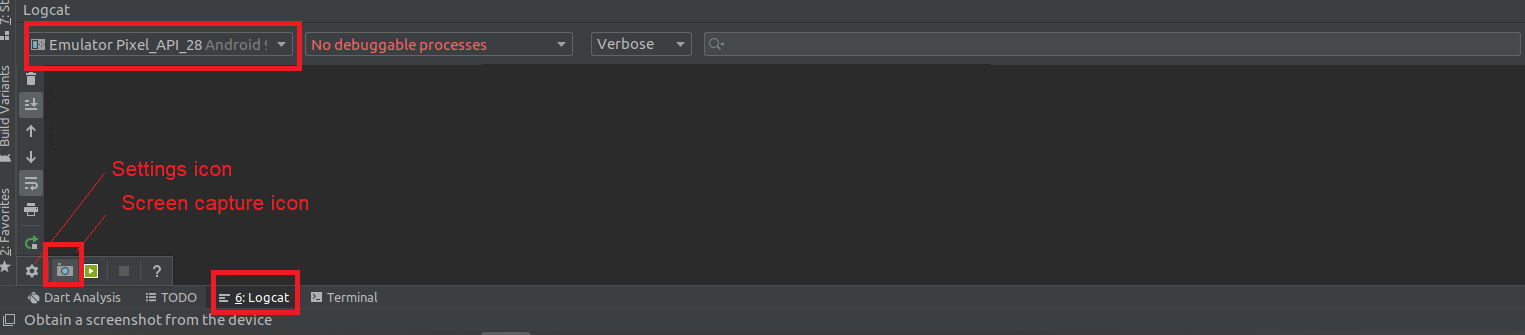
- Make sure you selected the device on which you are running your app
- Hover your mouse on the settings icon
- On Hover, it will populate additional options
- Select the “Camera” icon to capture your screen
 |
|---|
| Android Studio Camera icon |
step 4 : Take a screenshot
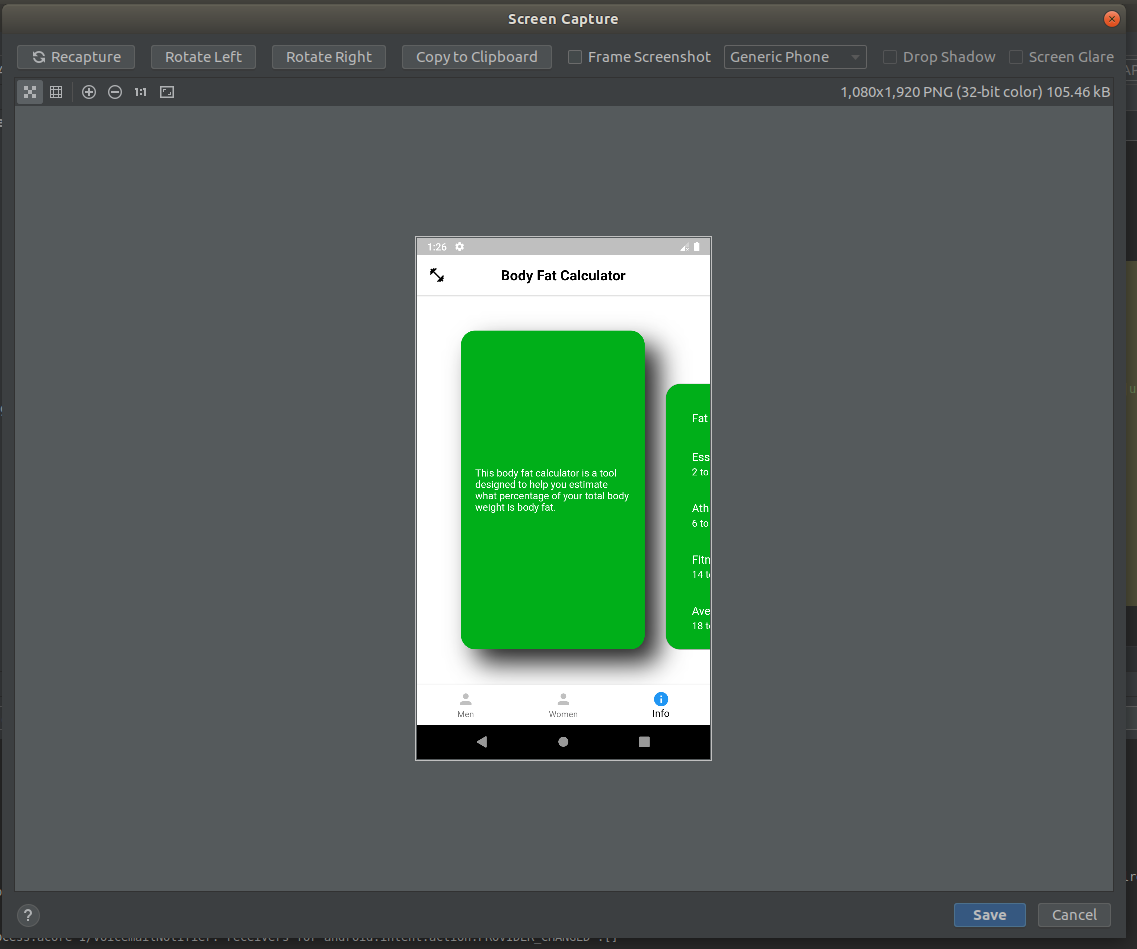
- Click the camera icon to take screenshot
- Pop-up window as shown below will appear with your app screenshot
 |
|---|
| Screen Capture |
step 5 : Add Device frame to your screenshot
- Click on the Frame Screenshot check to add a device frame to your screenshot
- You can select from a range of device frames as shown in the below screenshot
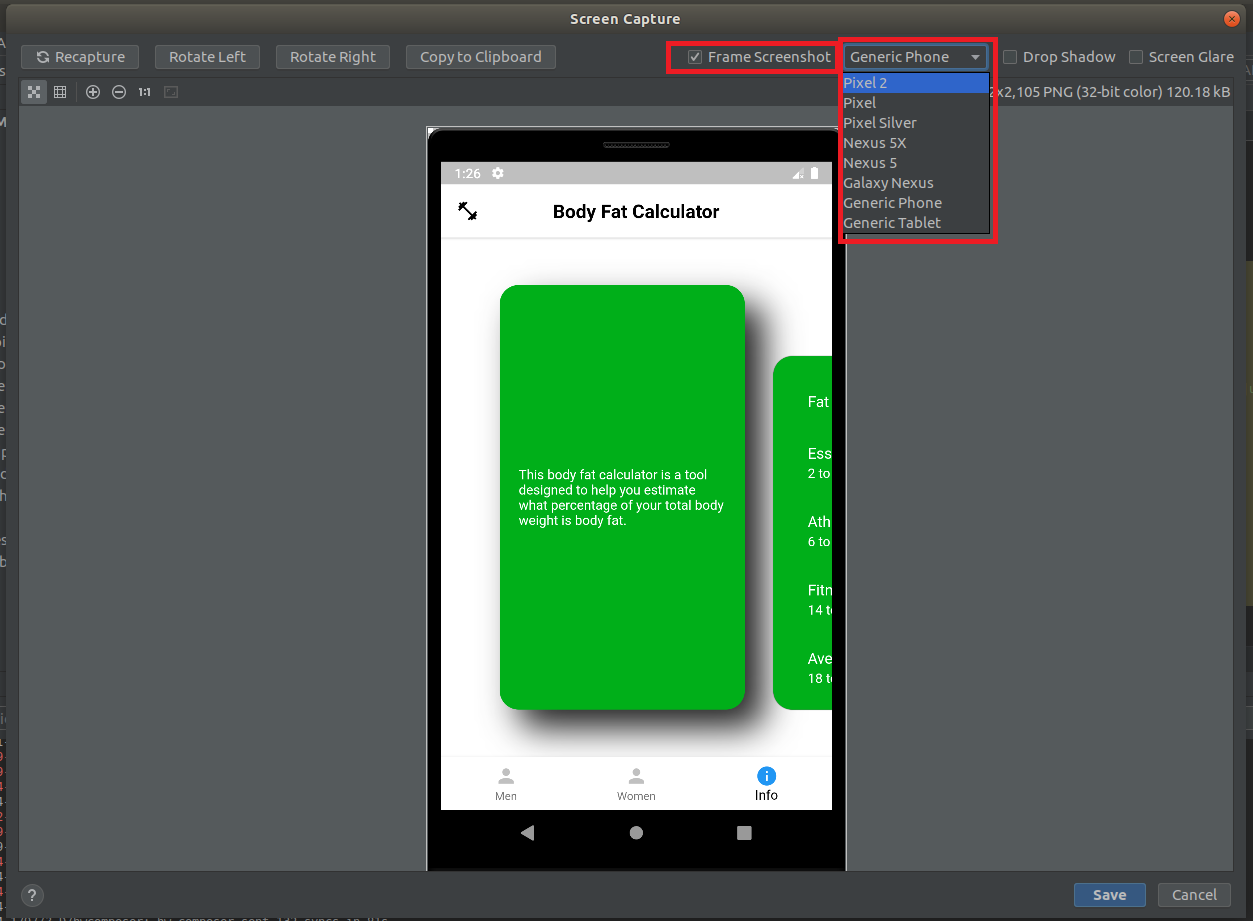 |
|---|
| Device Frame |
step 6 : We use Pixel Silver Device Frame for our projects
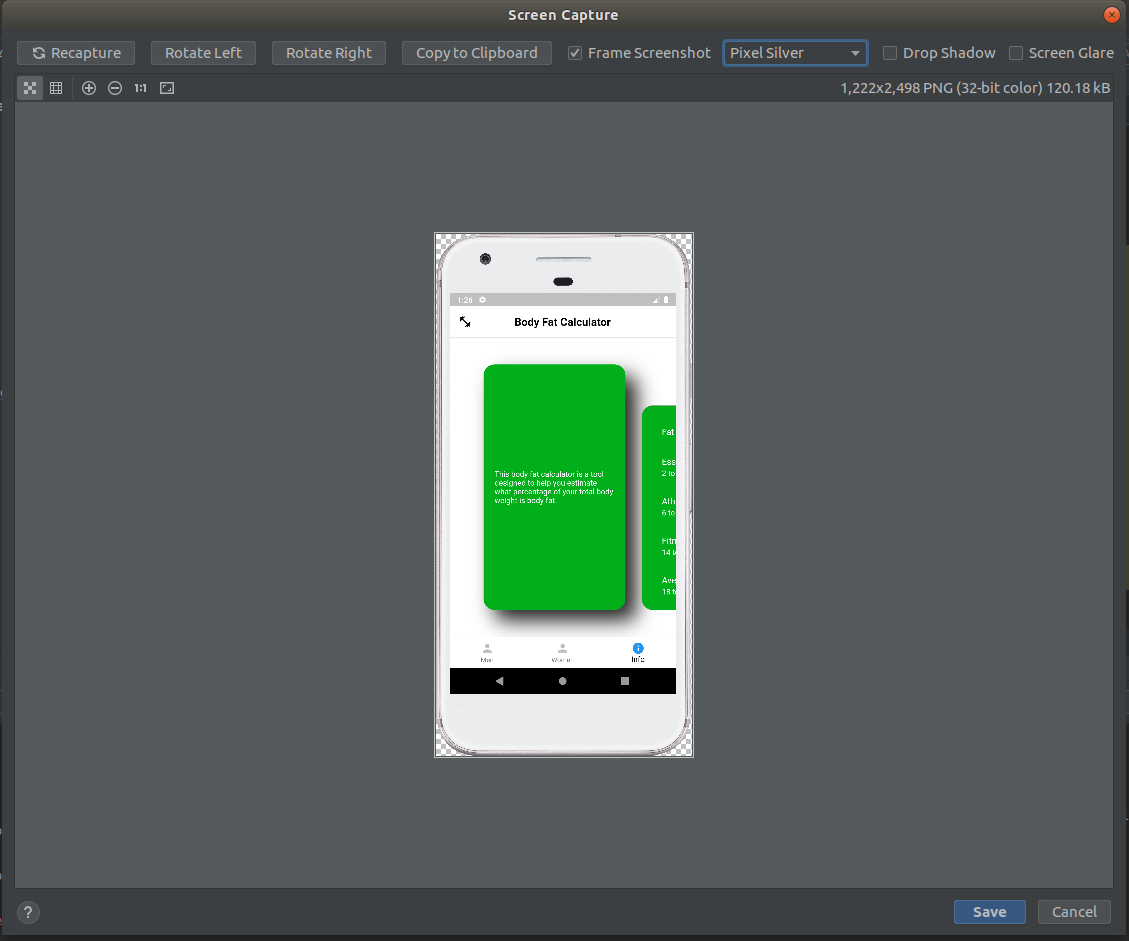 |
|---|
| Silver Device Frame |
step 7 : Generic Tablet Device frame is also available if your app support different devices
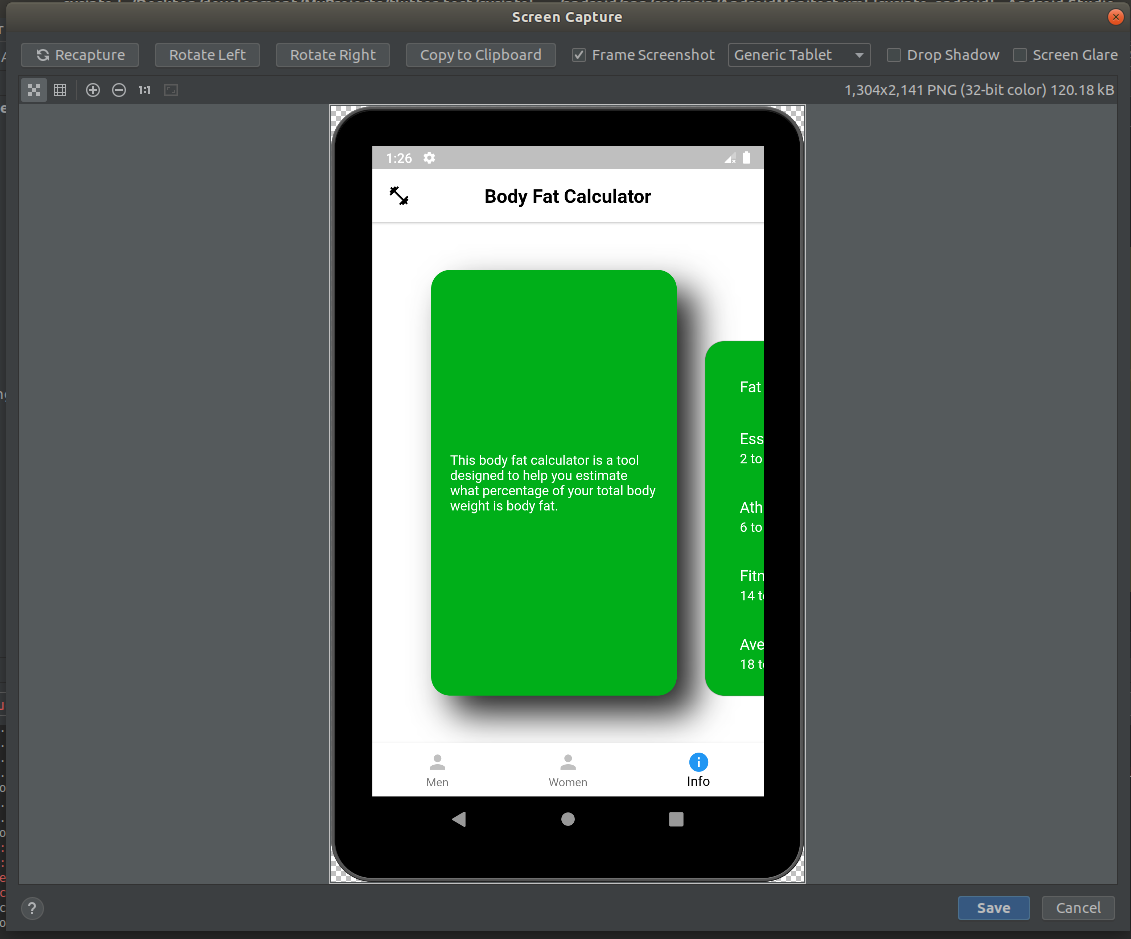 |
|---|
| Generic Tablet Device Frame |
step 8 : Add a drop shadow to your screenshot
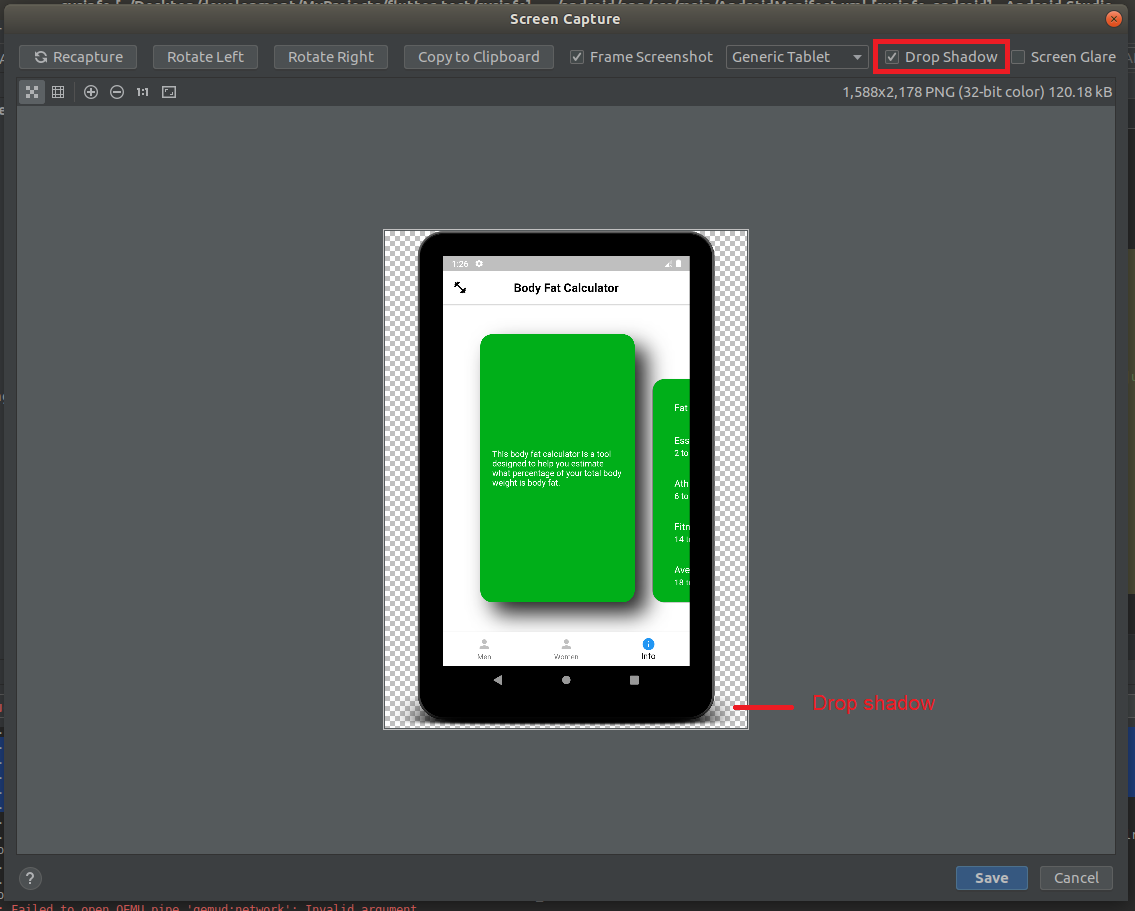 |
|---|
| Drop Shadow |
step 9 : Try different option available in Screenshot Editor
- Recapture - if you are unhappy with your screenshot then Take new screenshot
- Rotate Left or Rotate Right - This option rotate your image clockwise or anti-clockwise
- Screen Glare - This option adds a glare effect to your device display
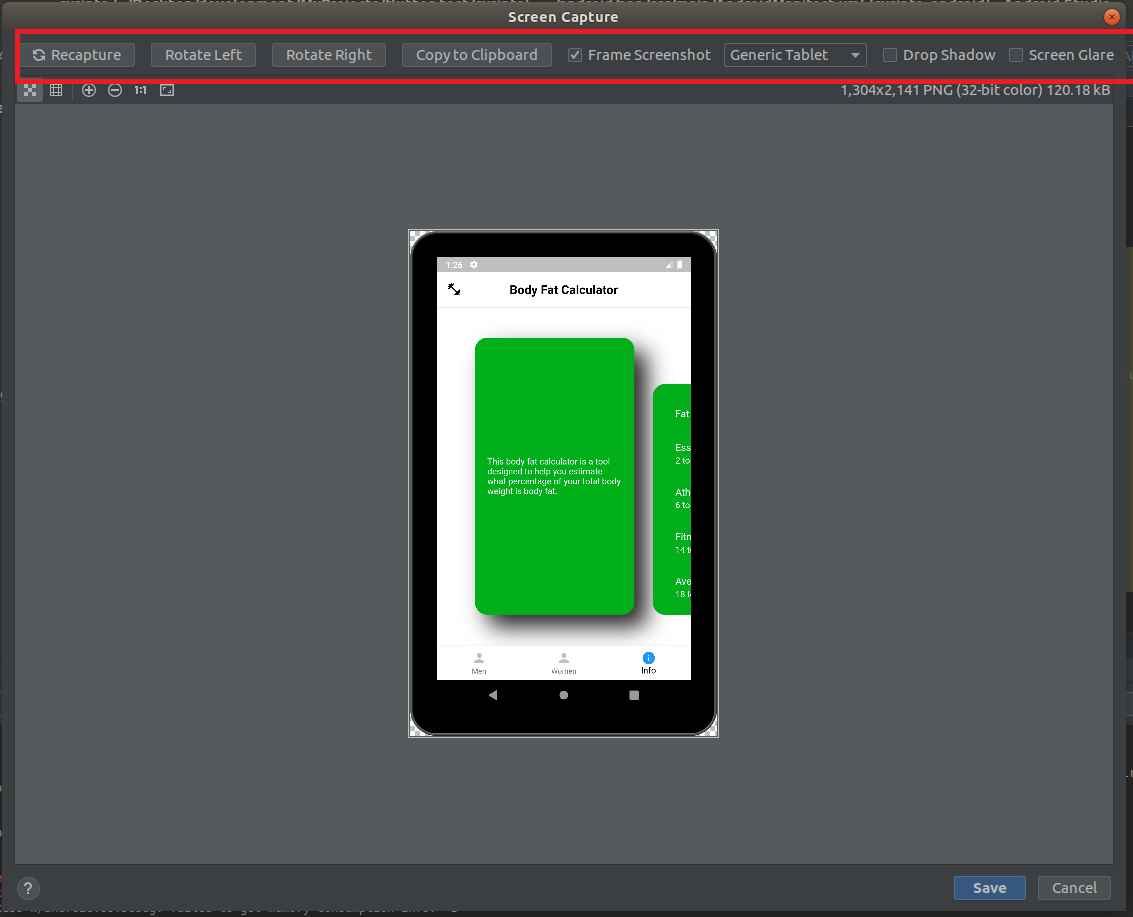 |
|---|
| Screenshot Editor |
Bonus Tip : If you are using a physical android device for testing, you can capture a screenshot by pressing and holding Power Button + Volume Down Key Simultaneously.
Useful resources
Frequently Asked Questions
Share This Post
The information contained on this blog is for academic and educational purposes only. Unauthorized use
and/or duplication of this material without express and written permission from this site’s author and/or owner
is strictly prohibited. The materials (images, logos, content) contained in this web site are protected by
applicable copyright and trademark law.

Join our newsletter!
Get the latest developer guides, tutorials, and tips delivered straight to your inbox.