Table of Contents
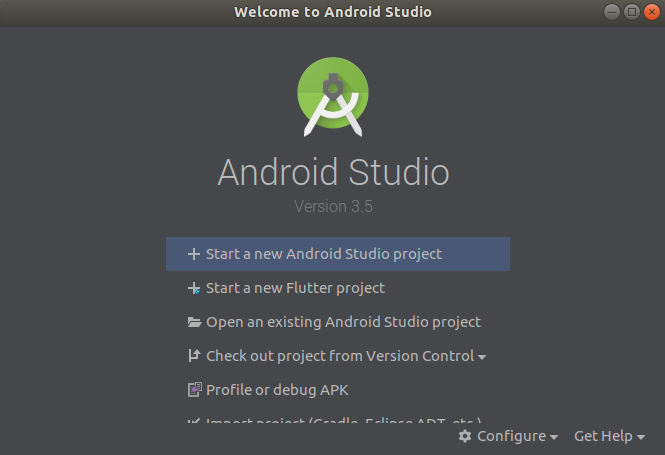
step 1 : Run Android Studio
- Install latest stable version of Android Studio
 |
|---|
| Android Studio |
step 2 : Open AVD Manager
Configure (Settings icon) > AVD Manager
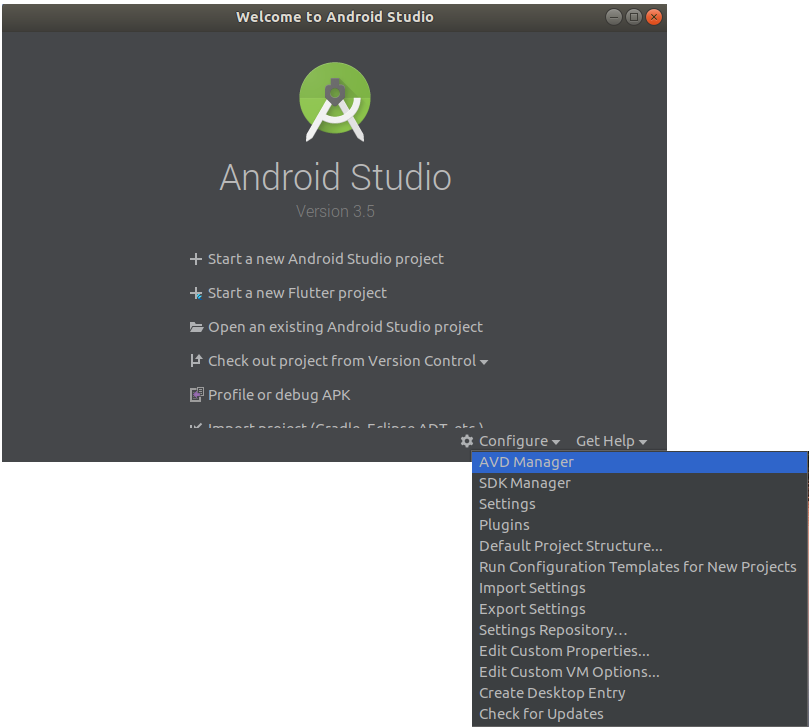 |
|---|
| Android Studio - AVD Manager |
step 3 : Create a Virtual Device
Click on “Create Virtual Device”
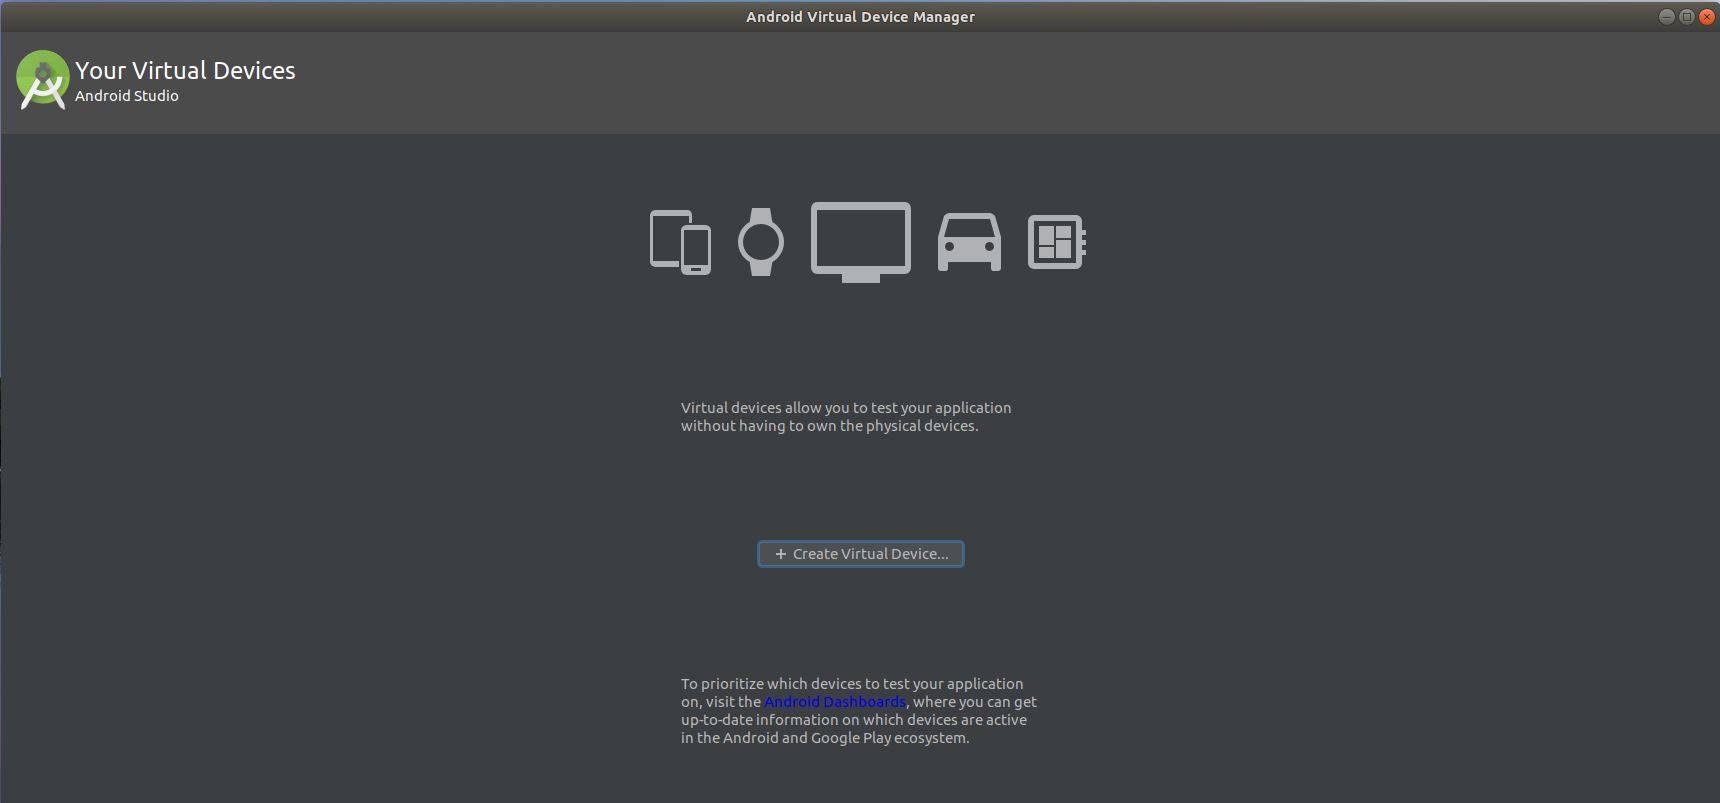 |
|---|
| Create Virtual Device |
- Select Hardware - Choose Device Definition : for this demo, we will select Pixel.
- Note : You can also create your own hardware profile or import an existing hardware profile using “New Hardware Profile” and “Import Hardware Profile” buttons.
- Click Next
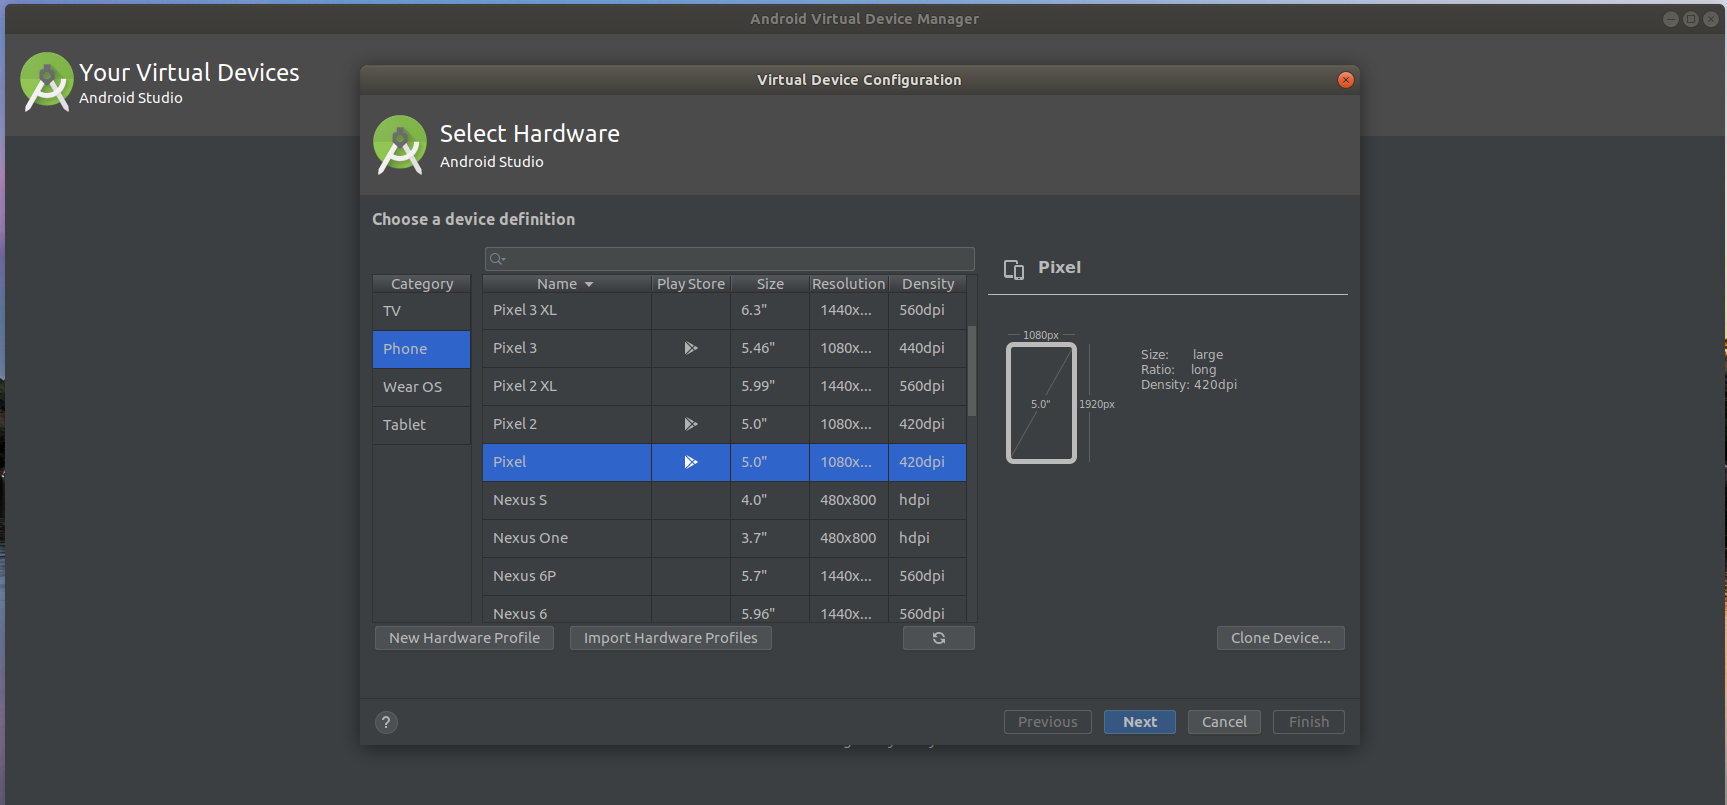 |
|---|
| AVD Manager - Hardware |
step 4 : Select a System Image
- Download and Select the latest stable version of Android System Image.
- Click Next
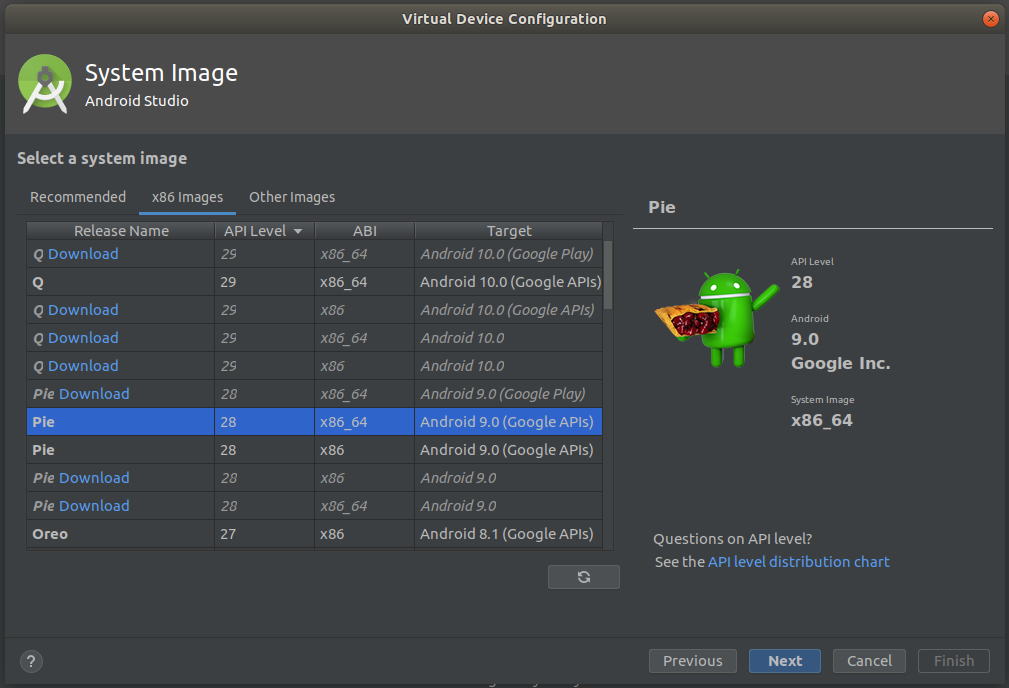 |
|---|
| AVD Manager - System Image |
step 5 : Verify Configuration
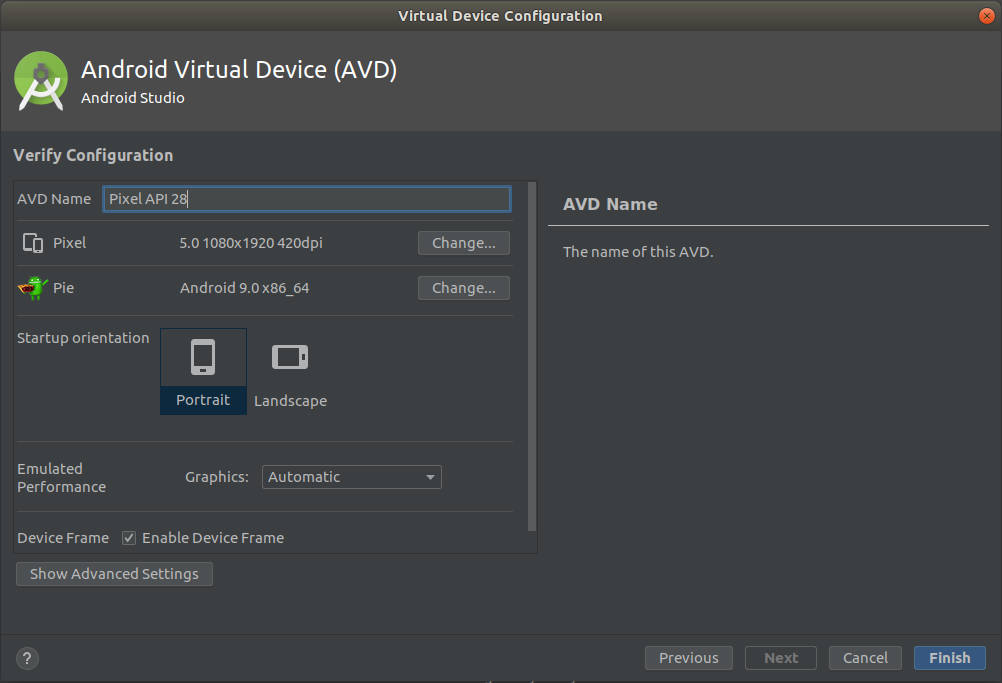 |
|---|
| AVD Configuration |
Click on “Show Advanced Settings” Button
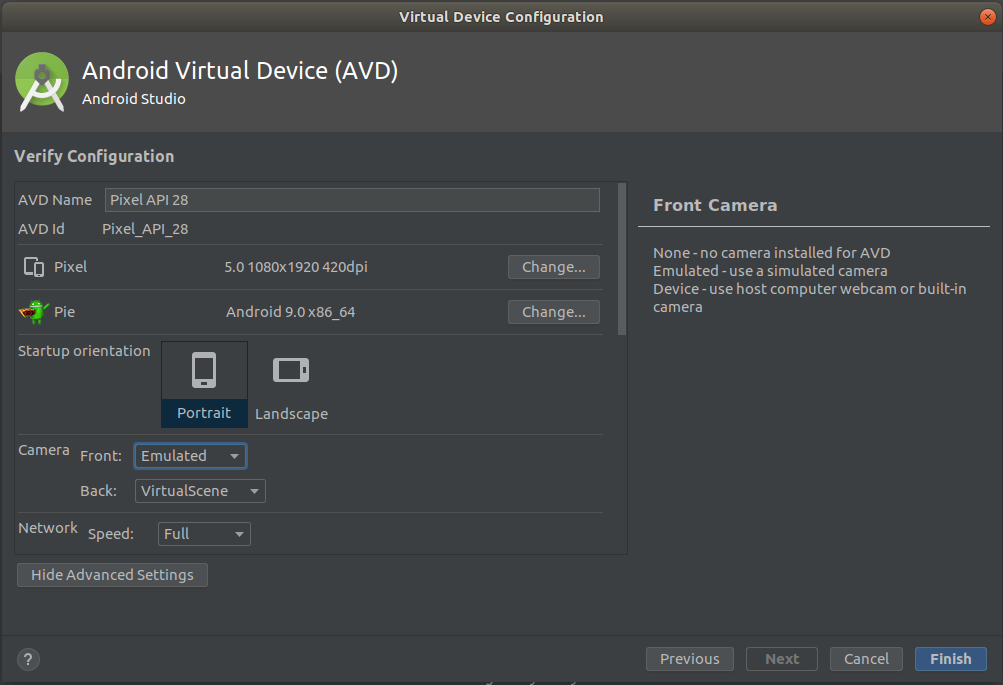 |
|---|
| Advanced AVD Configuration |
For most of the settings, keep default values.
Only change the below config parameters :
- Graphics : Hardware GLES 2.0
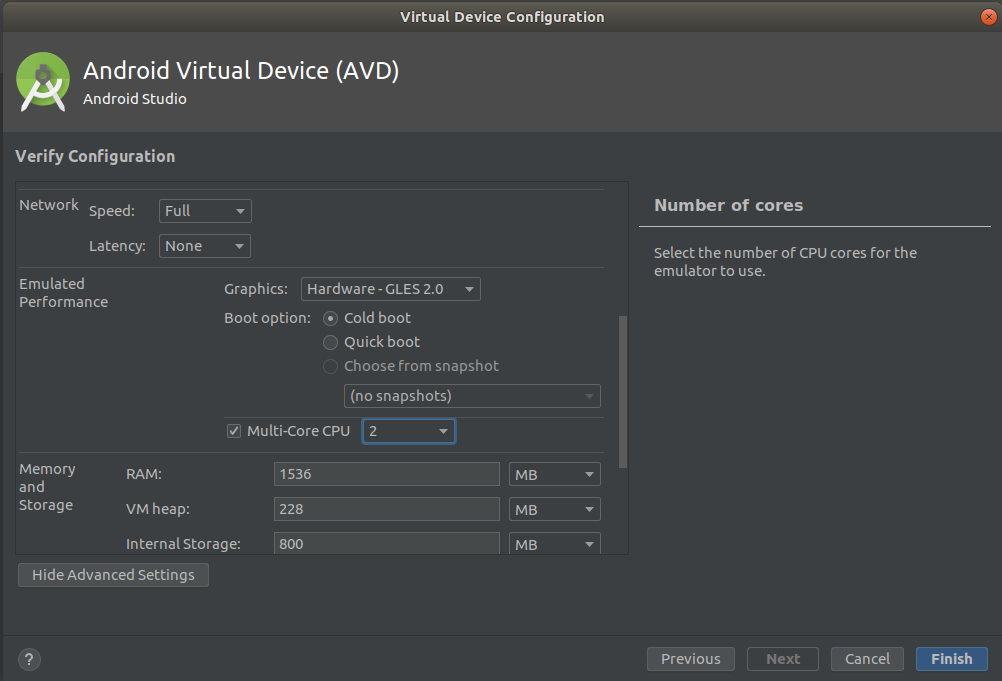 |
|---|
| AVD Configuration - Graphics |
- Multi-core CPU : 2
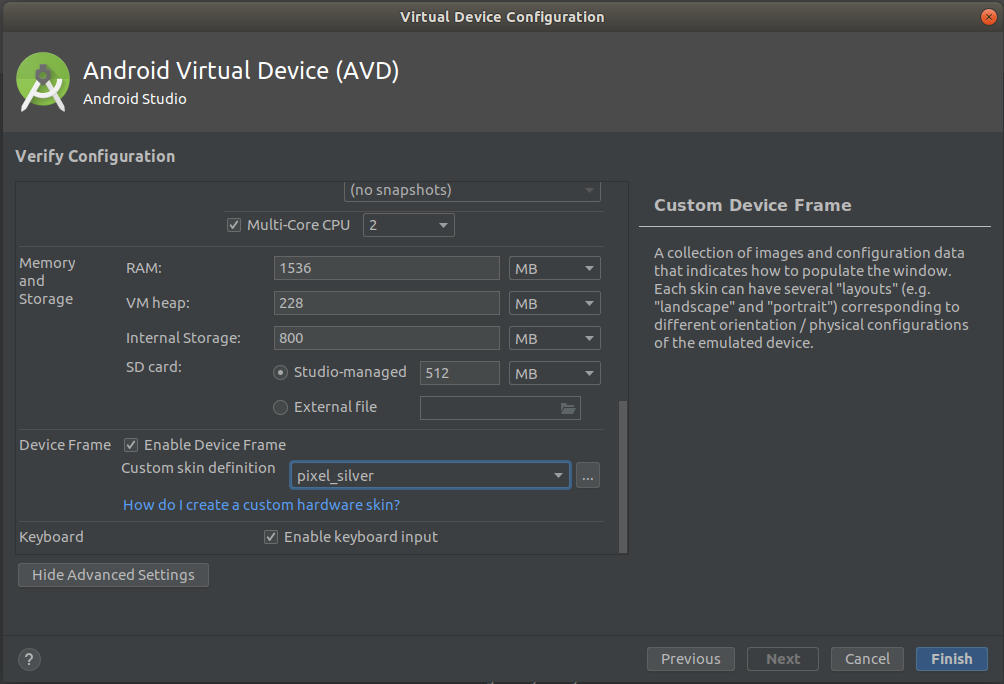 |
|---|
| AVD Configuration - CPU |
- Click Finish
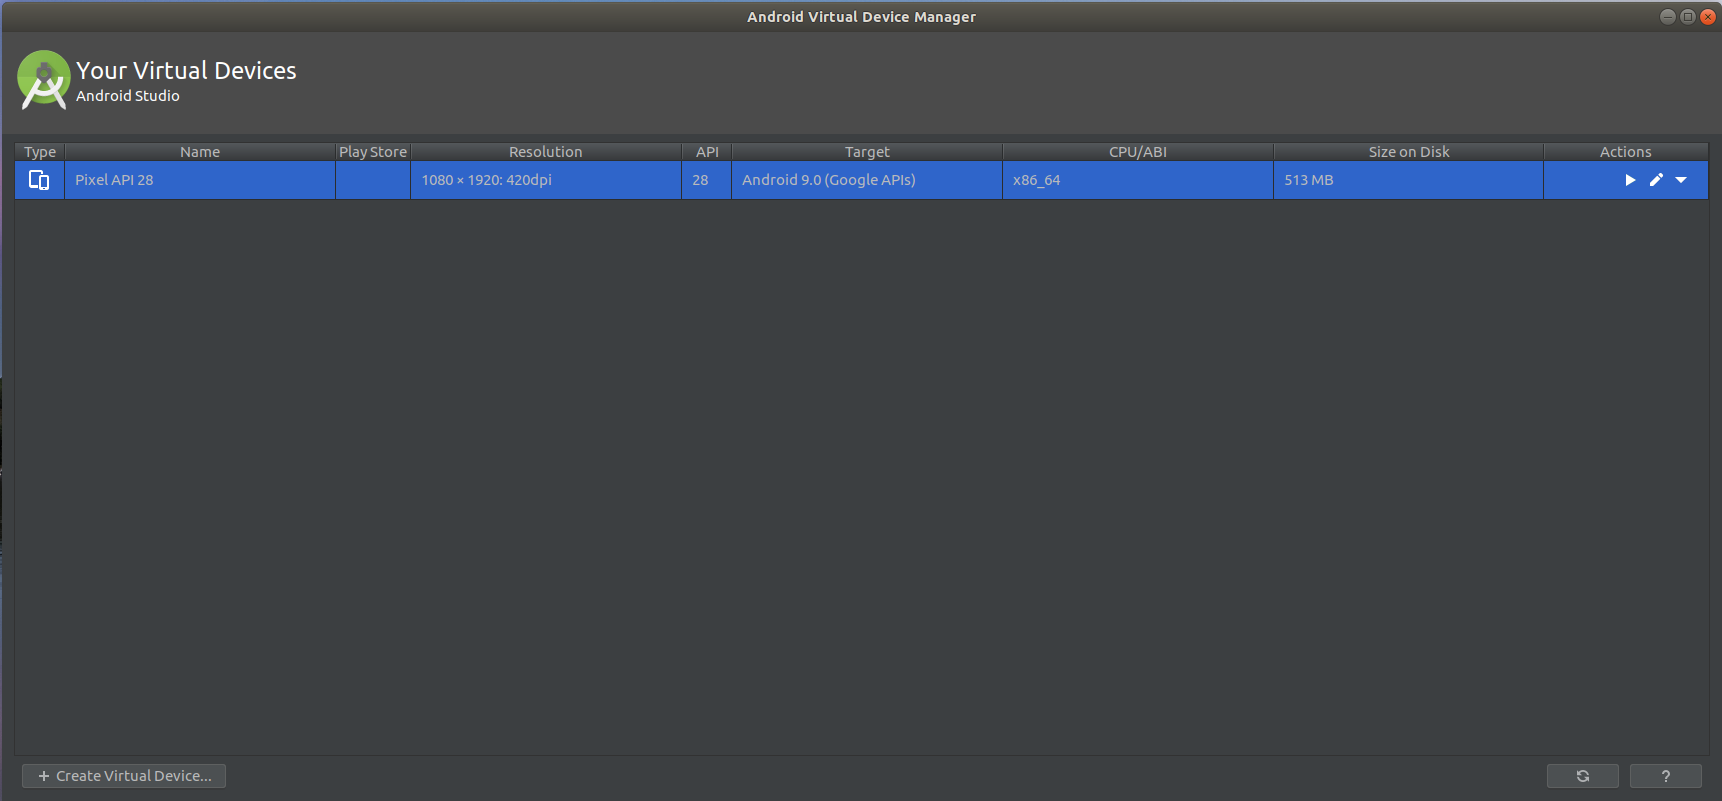 |
|---|
| Android Virtual Device AVD |
- Your AVD is ready to be launched in the emulator !
step 6 : Launch your Android Virtual Device in the emulator
In Actions column, Click on the play button to launch this AVD in the emulator
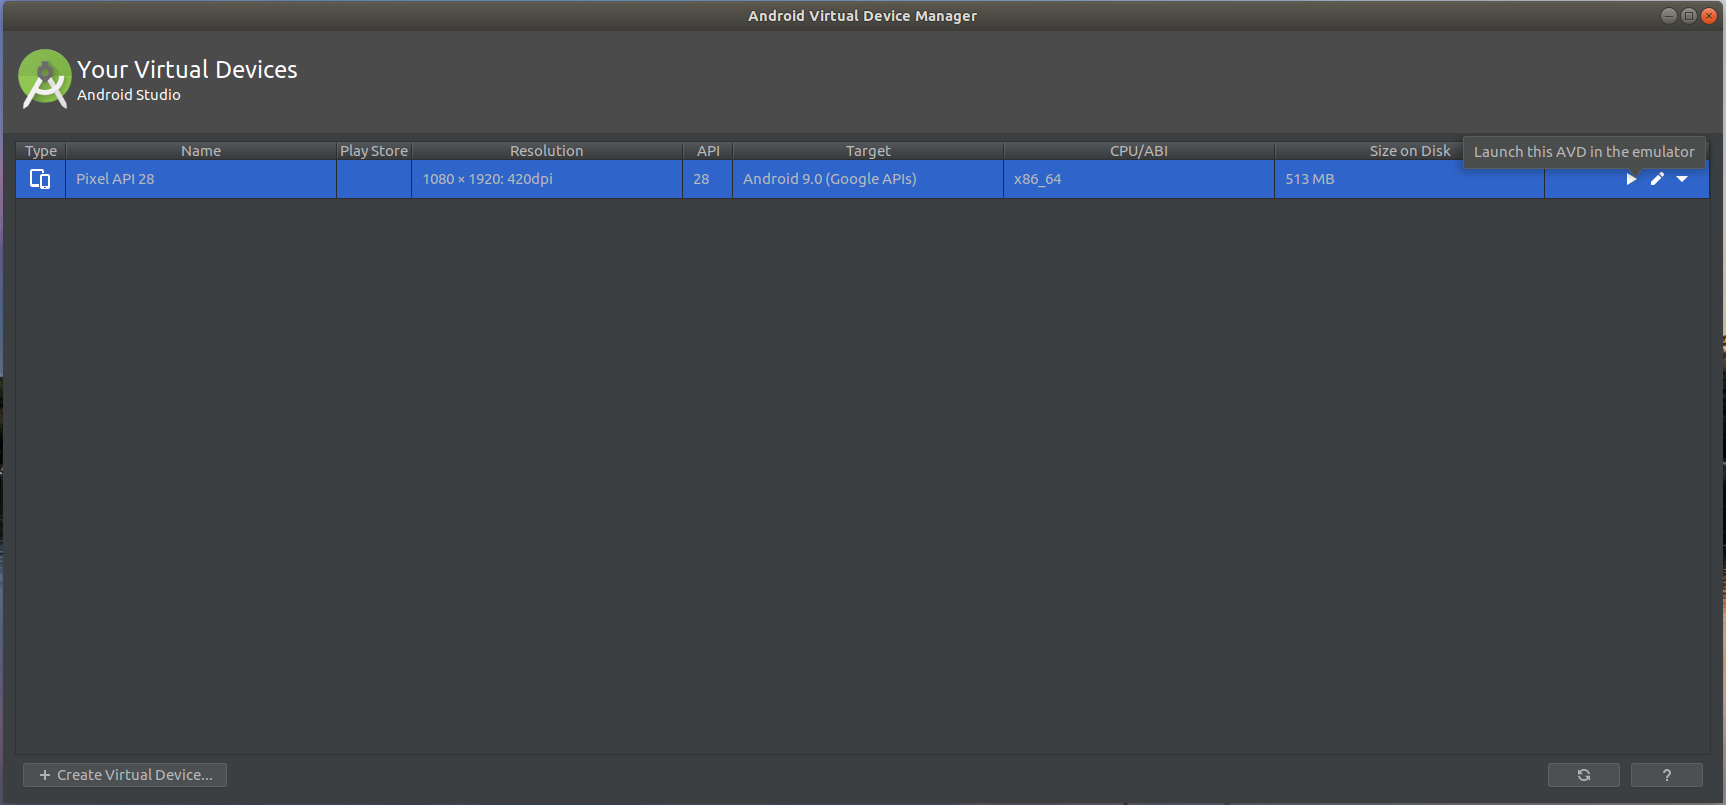 |
|---|
| Launch AVD |
step 7 : Launching Emulator… Starting AVD…
Wait for a few seconds to launch emulator and start Android Virtual Device AVD.
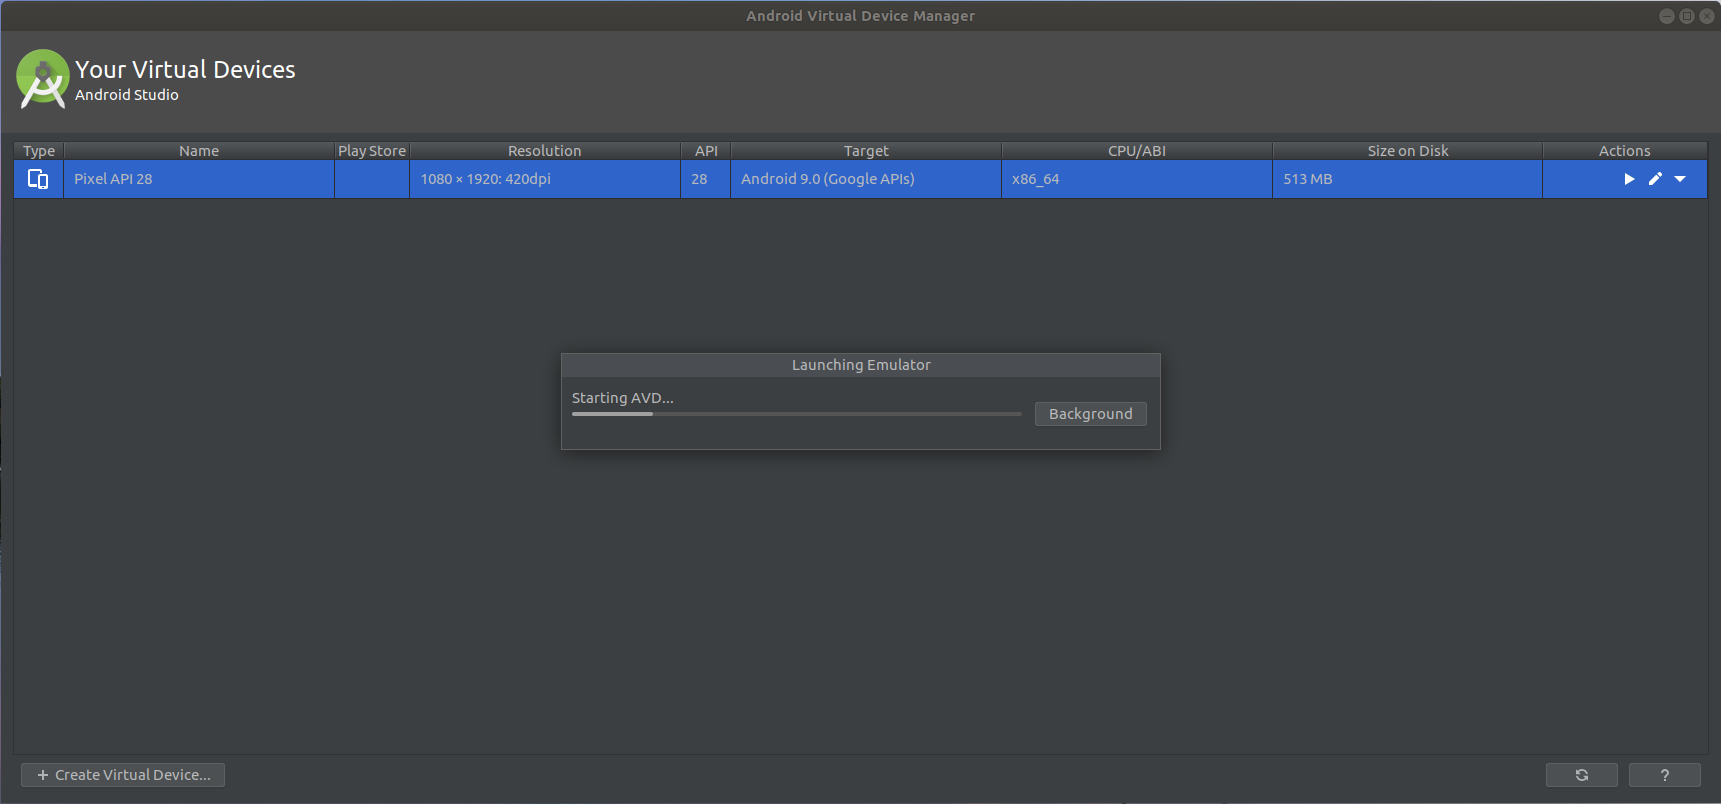 |
|---|
| Launch Emulator |
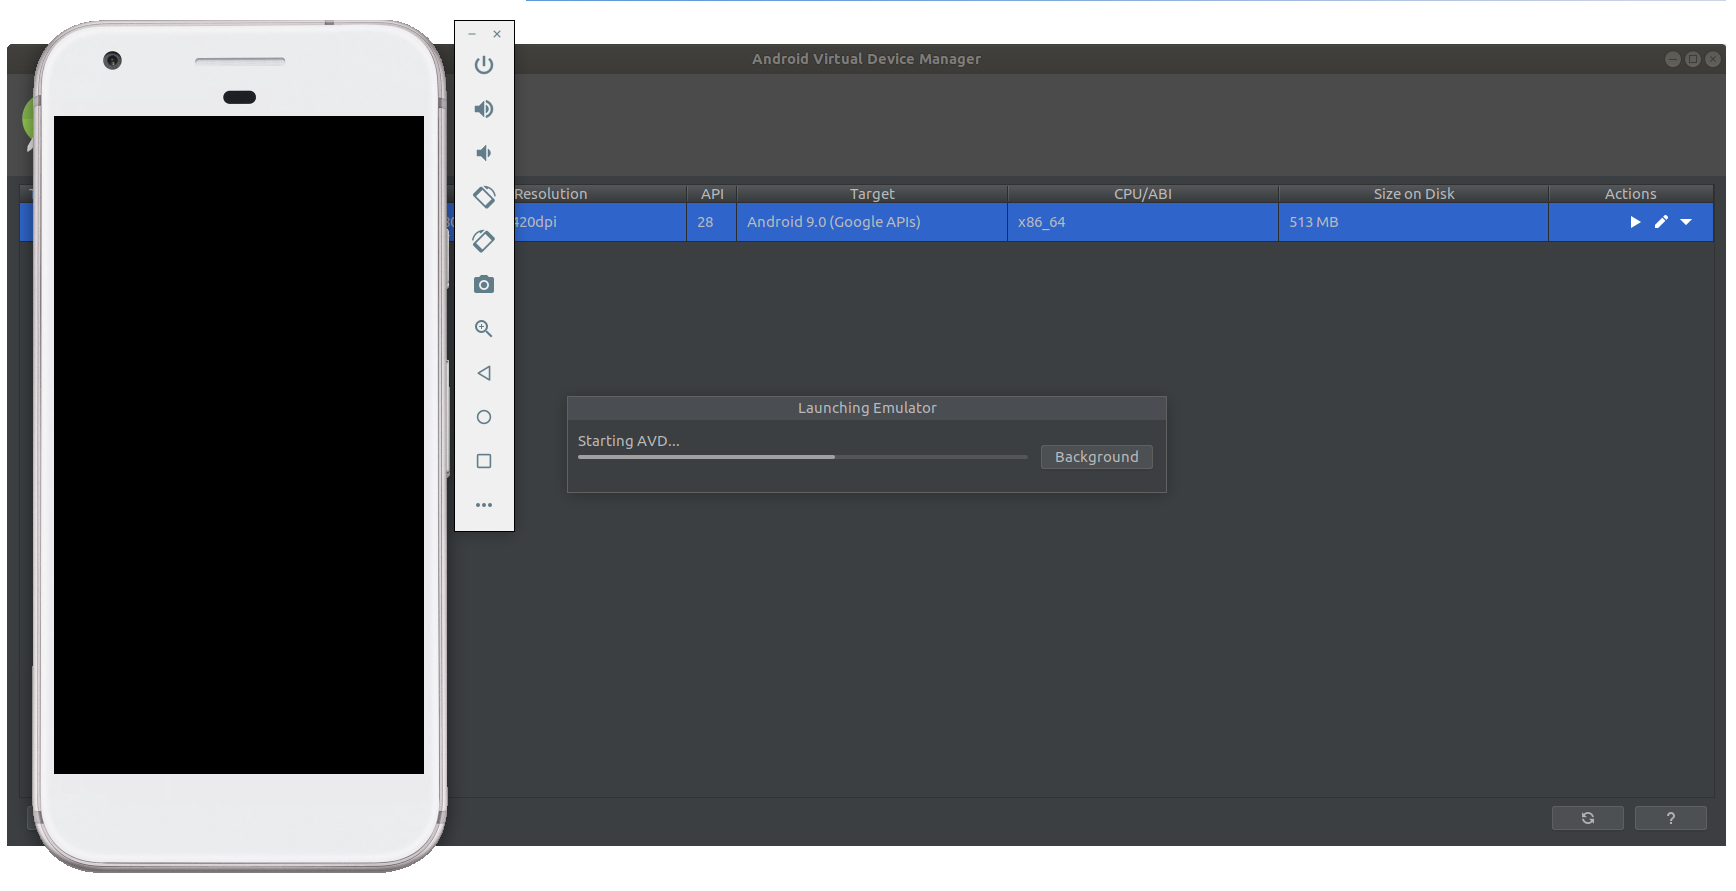 |
|---|
| AVD Android Emulator |
You have successfully created and launched Android Virtual Device (AVD) in emulator using Android Studio.
Frequently Asked Questions
Share This Post
The information contained on this blog is for academic and educational purposes only. Unauthorized use
and/or duplication of this material without express and written permission from this site’s author and/or owner
is strictly prohibited. The materials (images, logos, content) contained in this web site are protected by
applicable copyright and trademark law.

Join our newsletter!
Get the latest developer guides, tutorials, and tips delivered straight to your inbox.