![Step-by-Step Guide to create a new flutter project using Visual Studio Code [VS Code]](/assets/images/10/flutter-create-vscode.png)
Table of Contents
- Install latest stable version of VS Code
-
Install the Flutter and Dart plugins
- In VS Code “Extensions” Tab, search field type flutter, select “Flutter” in the list and click “Install”.
- Flutter plugin also installs the required Dart plugin.
Validate your flutter setup using “flutter doctor command”.
Once Flutter SDK and your VS Code Editor is up and running,
 |
|---|
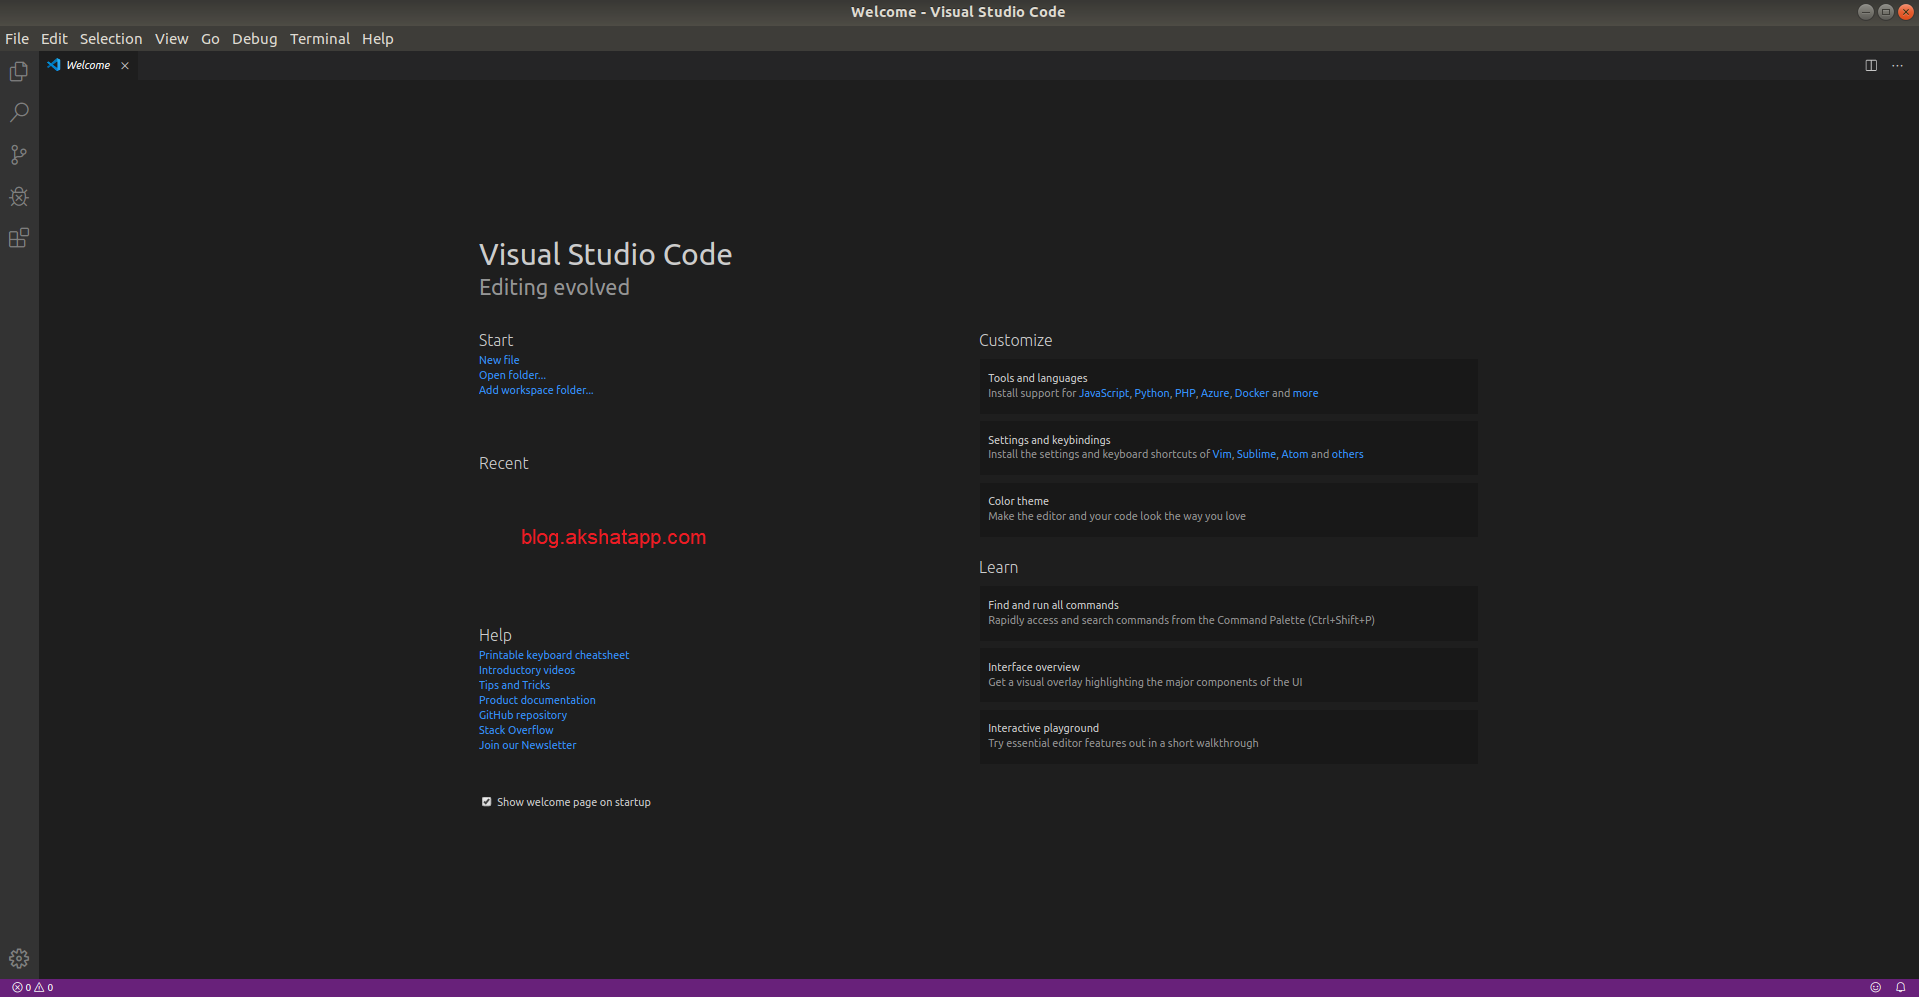
| Flutter Visual Studio Code |
To Create a new flutter project from the flutter starter app template follow the below steps
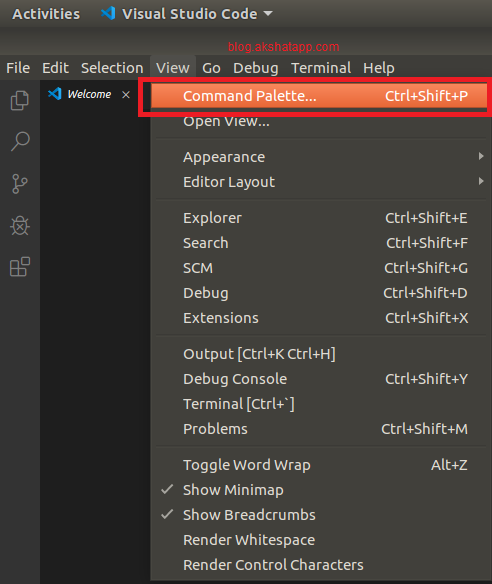
step 1 : Open Command Palette
Use Shortcut key - Ctrl+Shift+P or Cmd+Shift+P on macOS
OR
Go to View Menu, select “Command Palette”
 |
|---|
| VS Code Command Palette |
step 2 : Create Flutter New Project
Select the “Flutter : New Project” Command from the list and press Enter
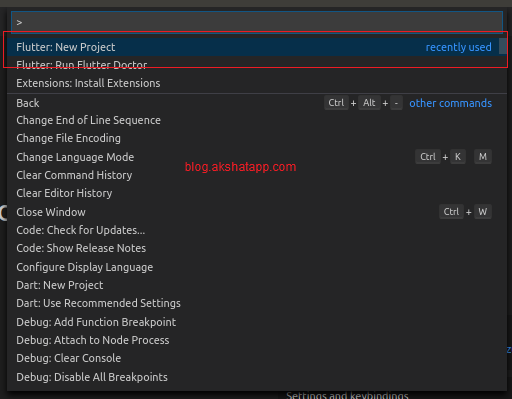 |
|---|
| Flutter New Project |
step 3 : Enter your project name
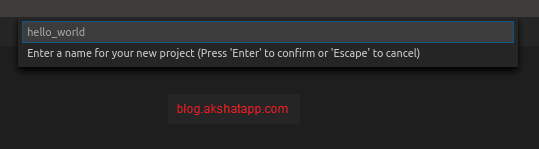 |
|---|
| Flutter Project Name |
For this demo, App Name : flutter_test_app
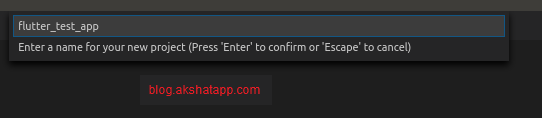 |
|---|
| Flutter Test App |
step 4 : Select the desired project location
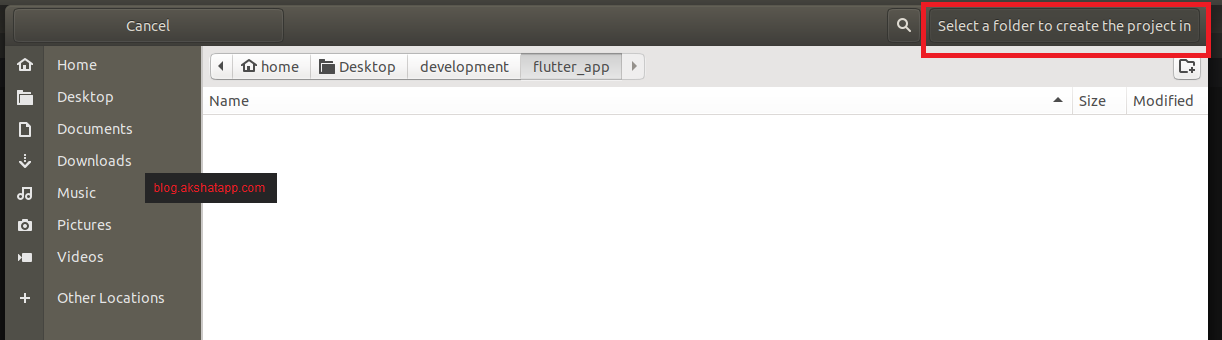 |
|---|
| Flutter Project Location |
step 5 : Your flutter project is ready !
Wait for a few seconds and let flutter create the required files and folders in your project location.
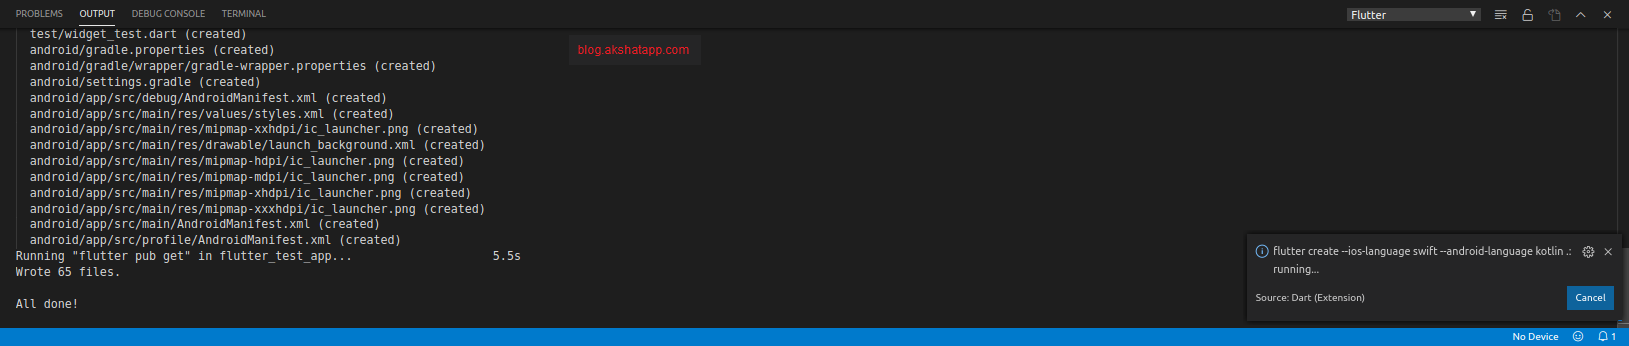 |
|---|
| Flutter Create Command |
Once, the project setup is complete, VS Code will notify you that your flutter project is ready.
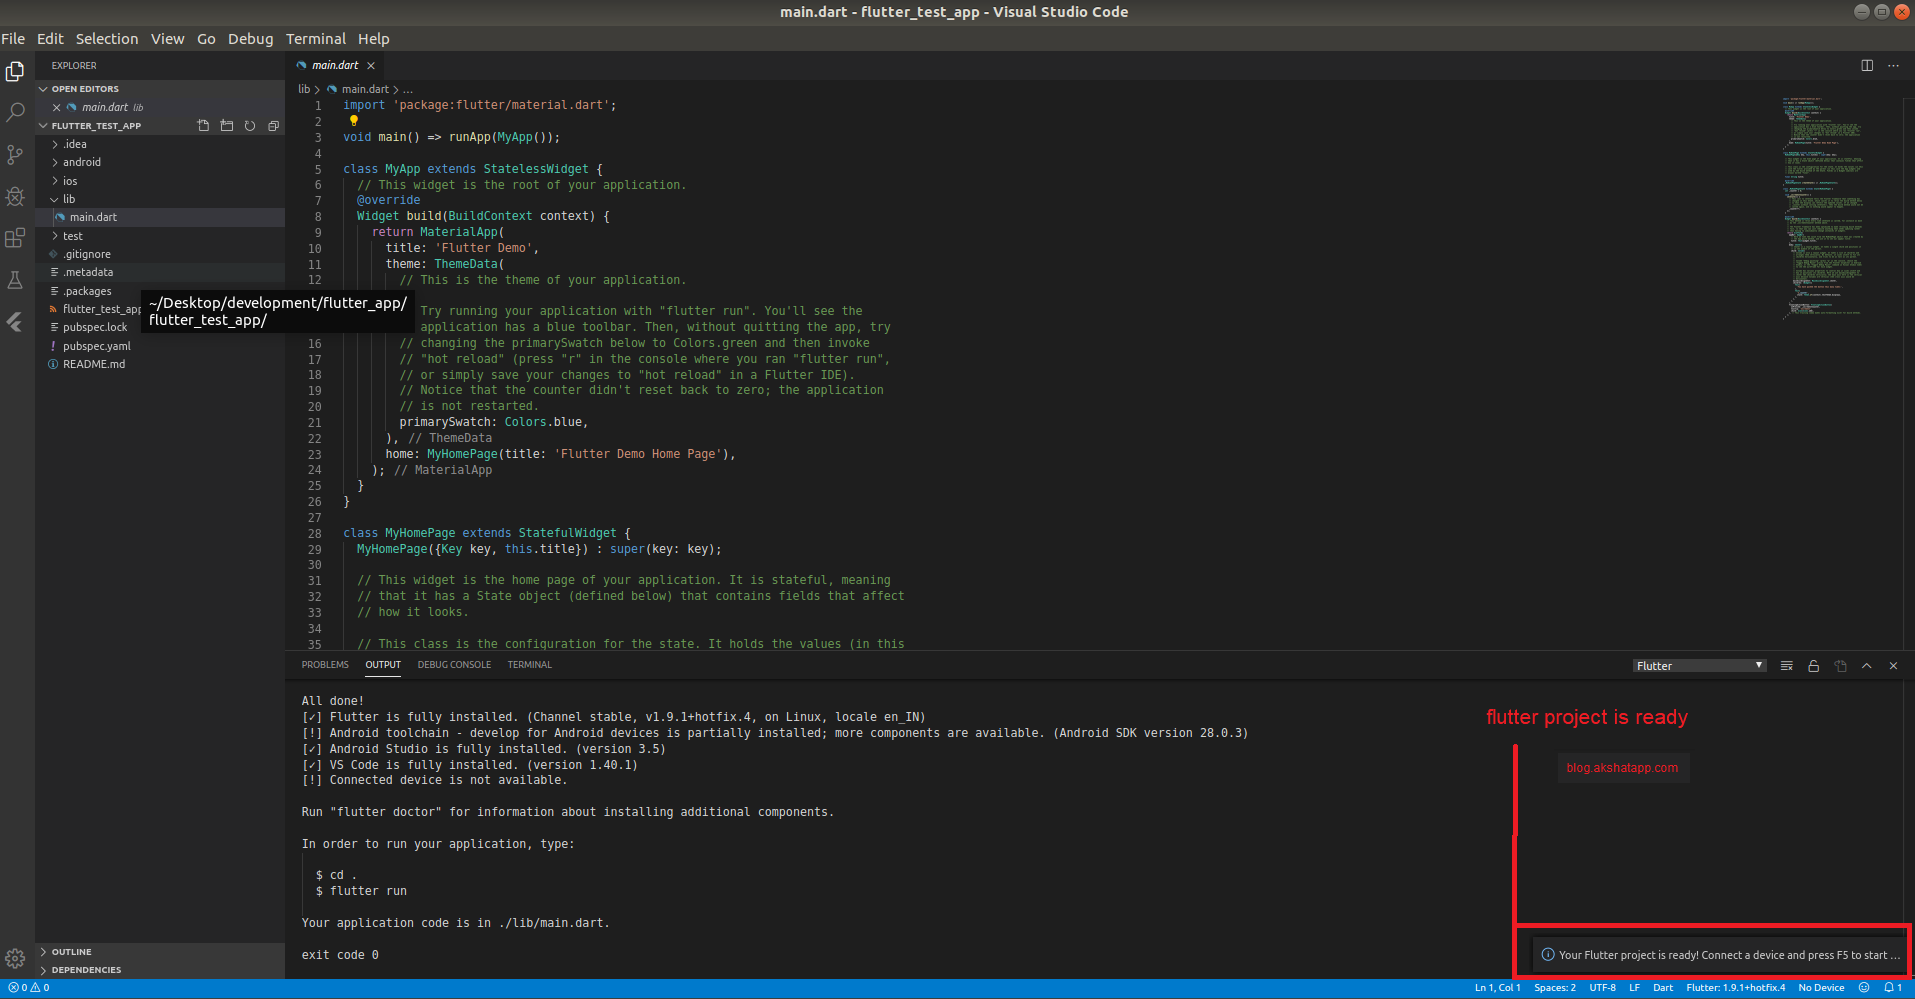 |
|---|
| Flutter Project Ready |
Frequently Asked Questions
Share This Post
The information contained on this blog is for academic and educational purposes only. Unauthorized use
and/or duplication of this material without express and written permission from this site’s author and/or owner
is strictly prohibited. The materials (images, logos, content) contained in this web site are protected by
applicable copyright and trademark law.

Join our newsletter!
Get the latest developer guides, tutorials, and tips delivered straight to your inbox.